Headline: The Essential Guide to Repairing Circuit Board Traces: A Path to Electronic Resuscitation

Image: jhdpcb.com
Introduction:
In the realm of electronics, circuit boards serve as the conduits of life for our devices. However, the intricate network of traces that adorn these boards can sometimes succumb to the inevitable wear and tear of time or accidental damage. When that happens, the once-vibrant electronic landscape can become a digital desert, leaving us yearning for a way to restore its functionality. This article will journey into the world of circuit board trace repair, empowering you with the knowledge and techniques to resurrect your electronic companions.
Understanding Circuit Board Traces:
Circuit board traces are the thin, conductive pathways that interconnect various components on a circuit board. Made from materials like copper or aluminum, these traces serve as the communication highways that transmit electrical signals throughout the system. When these traces break or become damaged, the flow of electricity can be disrupted, causing malfunctions or even complete device failure.
Signs of Damaged Circuit Board Traces:
Identifying a damaged circuit board trace can be a bit like solving a puzzle. Visual inspection is the first line of defense, as a broken trace will often manifest as a break or discoloration in its path. Instruments like a multimeter can also provide valuable insights, allowing you to check for continuity and identify any points of high resistance or open circuits.
Repair Techniques for Circuit Board Traces:
Once you’ve pinpointed the culprit, it’s time to embark on the repair mission. Here are some commonly used techniques:
-
Solder Jumper: If the break in the trace is small, a simple solder jumper can bridge the gap and restore conductivity. This is best suited for short, clean breaks.
-
Conductive Inks and Adhesives: These specially formulated materials can be applied to the damaged area and cured, essentially recreating a new trace and restoring connectivity.
-
Trace Replacement: In cases where the damage is extensive, it may be necessary to replace the entire trace with a new wire or a conductive pen.
-
Professional Repair Services: For complex or intricate repairs, it may be advisable to seek the assistance of a professional repair technician who has the tools and expertise to handle such delicate work.
Expert Insights and Tips:
-
Use the Right Tools: Proper tools are crucial for a successful repair. Invest in a soldering iron with a fine tip and good magnification tools.
-
Cleanliness is Key: Ensure that the repair area is clean and free of contaminants before soldering or applying conductive adhesives.
-
Test and Verify: After completing the repair, test the circuit board with a multimeter to confirm continuity and functionality.
Conclusion:
With the knowledge and techniques outlined in this article, you are now equipped to face the challenges of circuit board trace repair. Remember, patience, attention to detail, and a willingness to persevere are essential for a successful resurrection of your electronic devices. By following these steps and invoking the spirit of electrical ingenuity, you can restore broken traces and breathe new life into the technological companions that enhance our lives.
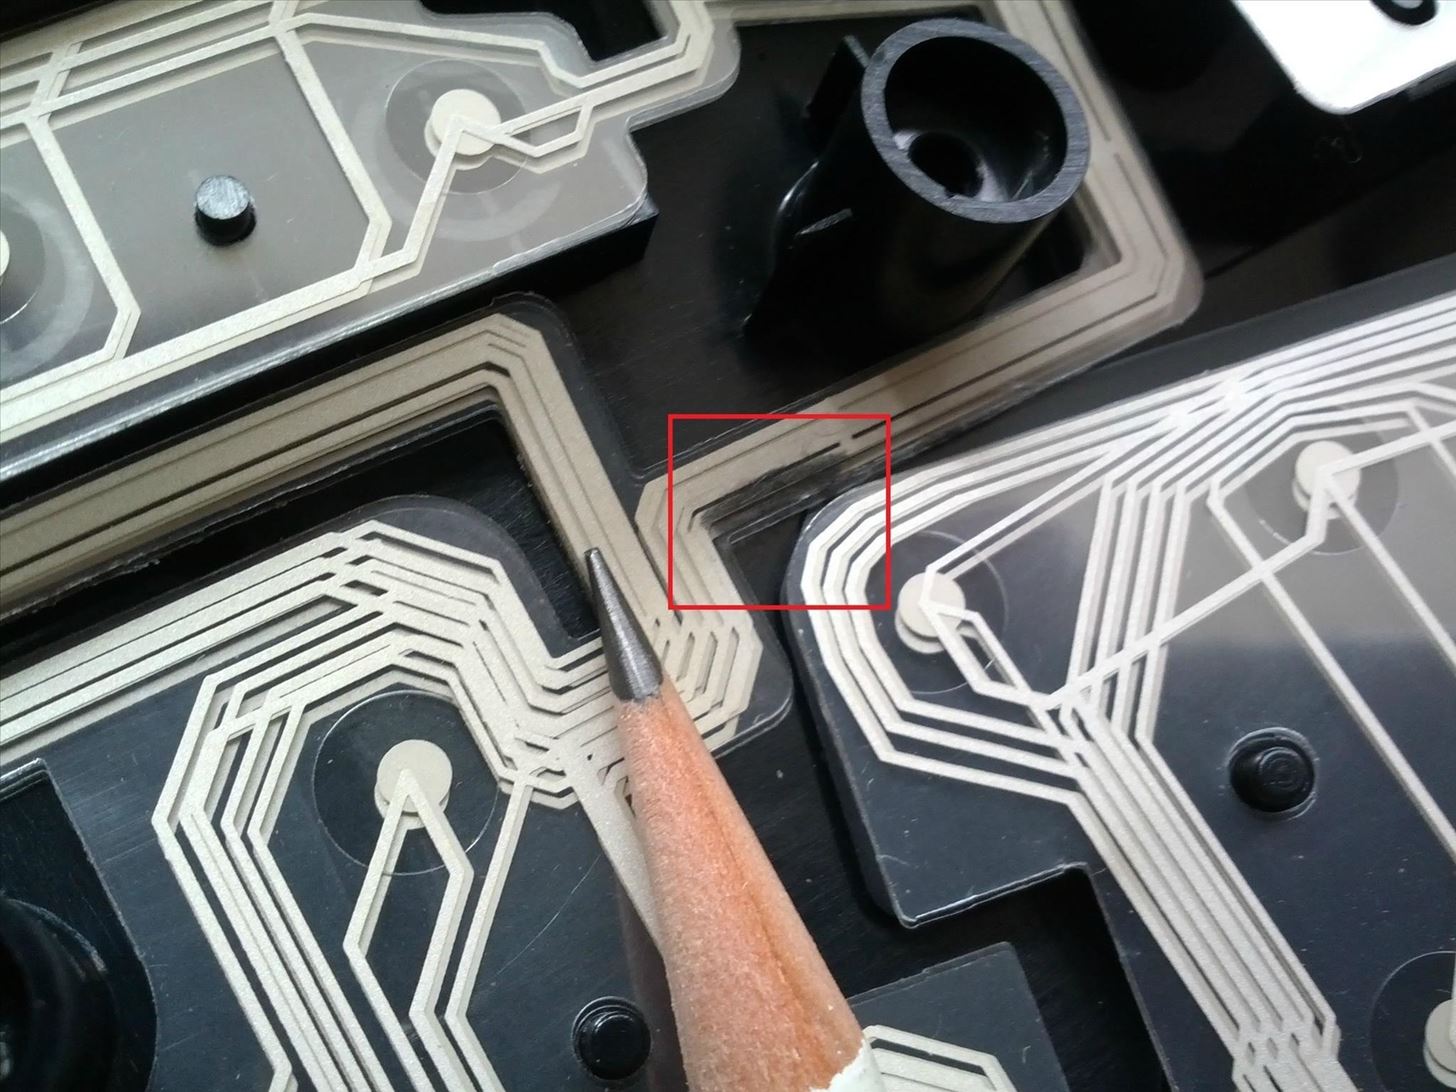
Image: mods-n-hacks.gadgethacks.com
How To Fix Circuit Board Trace
